

How to save time by designing the perfect client welcome package

Buckle your seatbelts, Designers!
I have something for you today which I know will drastically change your client process for the better!
(And free yourself from hours upon hours of BTS busywork.) 💁♀️
What is it?
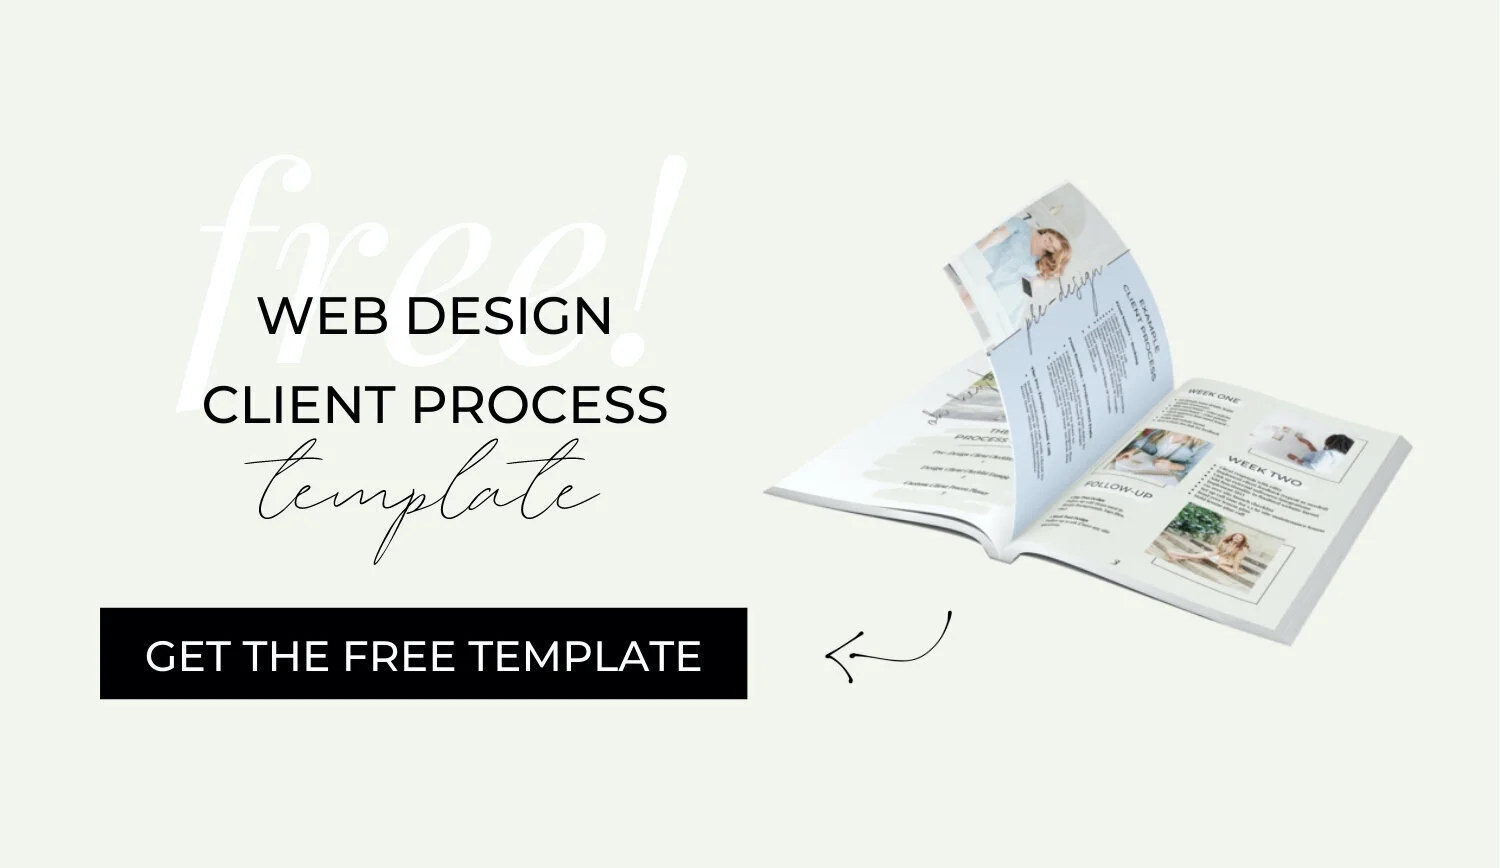
The welcome package!
I'm going to walk you through how I created the Welcome Package I used on-repeat with every. single . client.
Now you might be thinking…
“That’s nice for you, Paige, but I do not have the time to design some fancy, custom branded PDF right now!!”
Yes, there’s the initial investment of time spent creating this life-saving little doc…
But once it’s ready, it's going to keep on working for you for literally forever, saving you hoursssss of time in the long term.
Seriously, I did some quick math, and estimated this document saved me at least a full week’s worth of work each year.
A week!
That's 40+ hours of time freed up to do other important things that actually move the needle in your business!
(Or 40 luxurious mid-day naps. I know which one I’m picking…) 🙋♀️
Not to mention I can use this document year after year. Like a a perennial flower or Netflix subscription, it's a gift that keeps on giving.
When you’re no longer tied up with a bajillion back-and-forth emails, repeating the same instructions and introductions to each and every client as you onboard them, you’ll suddenly find yourself with a heck of a lot more time to get 💩 done in your business!
How a welcome package saves you time & keeps projects moving forward
Like most new designers, when I first started my website design business I did a lot of things manually and individually for each client.
When a new client would book I would send them in-depth details about the timeline of our project, contract signing, how to make a Pinterest inspiration board for their project, where to complete the Brand & Style Questionnaire, explain how to compile and label their client homework and site content in a Google Drive, give links to websites that had free stock photos for them to use if needed, etc.
These were some heftyyyyyy long emails to say the least…and took absolutely forever to write.
Over time of completing this process for every client I began to notice that I was wasting hours repeating the same tasks just for different people.
I knew I needed a way to streamline and simplify, taking myself out of the equation…
At first I began by writing out the instructions in a note on my computer and copying and pasting the relevant bits into an email to them.
Was it more effective than what I was doing before?
Sure, but still not a perfect process, and here’s why…
I would usually get this copy and paste email to them 1 day after they booked, which you might be thinking still sounds like pretty speedy customer service, but there’s one problem...
As clients go about their busy weeks and deal with other things in their business, the initial booking excitement tends to fade pretty quickly.
I wanted to make sure I had a way to capture the excitement of making a payment and saying yes to a new website.
I wanted my clients to be able to begin on their homework right then, even if the project wasn't going to actually start in the design process for a few weeks.
So what sort of info made it into my welcome package?
What to include in your web design client welcome package…
✓ A clear project timeline & breakdown of the steps to take after booking
Imagine you just booked a super expensive all-inclusive vacation… 🏝
But when you get there, you discover there’s no information, no itinerary, and you’re left to fend for yourself to find out when and where you need to show up in order to get the most out of your investment.
Stressful, no?
Your web design packages are no different!
You may have done this a bajillion times, and but more often than not, this will be your client’s first time working with a pro designer. They’ve just dropped several thousand doll hairs on this, and and are just crossing their fingers they made the right choice in picking you.
Your welcome package assures them they did!
Help them understand what they can expect throughout the whole process, and I promise you, you’ll be fielding wayyyy fewer questions and concerns (like “When do I get to see the first draft?” And “When do you need my images by again?”)
They will feel like their hand is being held the whole way - without you actually having to do the hand-holding!
It cuts down on the back-and-forth, but also helps keep them accountable for their own part in the process when you have clearly set dates for everything to keep the project on time and on track. 👌

✓ Details on signing a contract
If you’re sending along a welcome package, it means your client has already handed over that initial payment.
But there’s one more very important step before you can even begin to think about designing.
And that is to have them review and sign your contract.
Is it online? In the mail? Where do they access it? Do they fax you their signed copy? (Not even joking.)
Your client is busy doing what they do best, so they may not be up to date on the latest marvels of technology, like e-signatures!
Whatever your process, be sure to give clear instructions so your contract doesn’t collect dust in their inbox!
Pro-tip: I personally love to use Honeybook for sending and signing client contracts! (That’s an affiliate link! 50% off your first year!)
✓ How to complete any pre-design homework
Do you have your clients create a Pinterest Inspiration board to help you narrow down the style & vibe they are envisioning for their finished design? Include a little ‘how-to’ tutorial, as well as a link to an example board!
Or maybe you like to send along some sort of Brand & Style Questionnaire to learn more about their unique business…whatever homework you are giving your design client, be sure to link to it straight from your welcome PDF, so they aren’t having to track it all down in separate emails.
✓ How to gather & submit their client content
Who is responsible for providing images, copy, etc? Give your client a complete list of all the content they need to compile before you can start designing.
Provide examples, based on the purpose of the website (blogger, online shop, photographer, event-planner, sorority, etc)
You can link to resources like your favorite stock photography sites for sourcing images, or tips on how to plan their own branded photoshoot.
Go over any best practices they need to know for submitting quality content (ie. image sizes, how many images, a mix of vertical and horizontal)
Do you have any policies in place if clients are late with their content? Remind them (gently!) here!
You can even use this section refer them to other pros if your client is wanting to hire someone to prepare their site content for them. OR if photo sourcing and copywriting are services you happen to offer, you can let them know that’s an option (for a fee of course!)
Don’t forget to include instructions on how and where they can submit all this content and if there is any specific way you’d like it labelled so it’s easy to find.
I love having clients upload everything to a single Google Doc so I don’t have to fish around 50 different email threads in my my inbox to find everything!
✓ Tips on how to make common project decisions that only the client can make
Ie. Deciding for or against a coming soon page (and what content should be provided to make one!)
✓ Tips for a flawless design period
How and when do they give feedback? How many rounds of revisions are included in their package?
What’s the best way to reach you with a question about their project? Do you have office hours? Let them know when to expect a response from you if they do reach out.
Do they have access to the design while you’re creating it? How will you provide access when the time comes?
✓ An FAQ section
Got something clients tend to ask you on repeat but wasn’t covered by the above? Into the FAQ section it goes!
Obviously, what you choose to include in your welcome PDF will differ based on your own custom design process, and the steps you take with each client to get everyone to launch day in one piece!
If you're stuck thinking of what to include, just look over past emails to clients…
What questions are they asking? What do you explain over and over again? THAT is what you include.
And the best thing about a welcome PDF is that it can be easily tweaked and re-uploaded if you find you have to add in new info down the road as you learn more about your process and your ideal clients!
And make it on-brand!
The welcome package sets the tone for the entire client experience! So take the time it takes up front to make it pretty! (Or whatever your brand vibe is!)
To keep my branding consistent, I wrote my welcome PDF in a super friendly/casual/happy tone.
Because who wants to read some boring instruction manual, amiright?
Keep the excitement alive and overwhelm at bay by writing in bite-sized sections and breaking tasks down in a non-intimidating manner!
Pssst! Not sure how to lay all of this out in a single, on-brand PDF? I include this and 3 other done-for-you client docs in my Square Secrets Business™️ course for web designers!

Take the templates, tweak them for your custom brand & process, then hit send!
✓ Start To Finish Client Process Template
✓ Consultation Call Template
✓ Welcome Package Template
✓ Client Post-launch Package Template
How to deliver your web design client welcome package
First, I created my Welcome doc in something like Canva or Adobe Illustrator.
Export it as a PDF (and check to make sure your links work!)…
Now, you want to make sure you have a way for your PDF to get delivered automatically, as soon as someone books!
There’s endless ways to do this, but here are my two favs…👇
Using Squarespace
So if your clients are currently booking your services and paying via your website or online shop, you’ll want to attach your welcome package right to their confirmation email!
You would create your web design package listings in your shop as usual, but rather than using the product type called “service”, set your listings up as a “digital download” instead.
It will make no difference from the client’s point of view when booking and paying for your service, but it will allow you to automatically send the client a digital file (your welcome package) for download upon purchase!
Heads up! Depending on what plan you’re on with Squarespace, there may be a fee applied for each listing sold! You can check out Squarespace’s most up to date pricing plans and fees here.

Using Honeybook
I personally love to use Honeybook (That’s an affiliate link! Get a sweet 50% off your first year!) to automate my client workflows and accept payment.
So when a client pays their booking reservation fee via Honeybook, I can set up a workflow that triggers the automatic sending of my thank-you email, with my welcome package attached.
To set up a new workflow in Honeybook, head to Tools > Automations > New Automation.
Select Send An Email as your first action, select your welcome email from the list of templates, then change the settings so that it sends “o days after first payment made” (A.K.A instantly!)

P.s. In order for this to work, you’ll have to draft a welcome email template and attached your welcome package. This can be done under Tools > Templates > emails.
Welcome package = better customer service!
Finding a way to automate the delivery as soon as they book means I don't have to be by my computer to give amazing customer service!
I can be sleeping or on vacation and my clients are still getting lightening fast access to the introductory document they need. 💪
And now that I’ve created the thing once, I can use it over and over literally until the end of time!
I don't need to write instructions by email every time someone books, and I end up with more time to focus on other important areas of my business!
I love it. My clients love.
Win - win!
.jpeg?format=500w)

.jpeg?format=500w)