

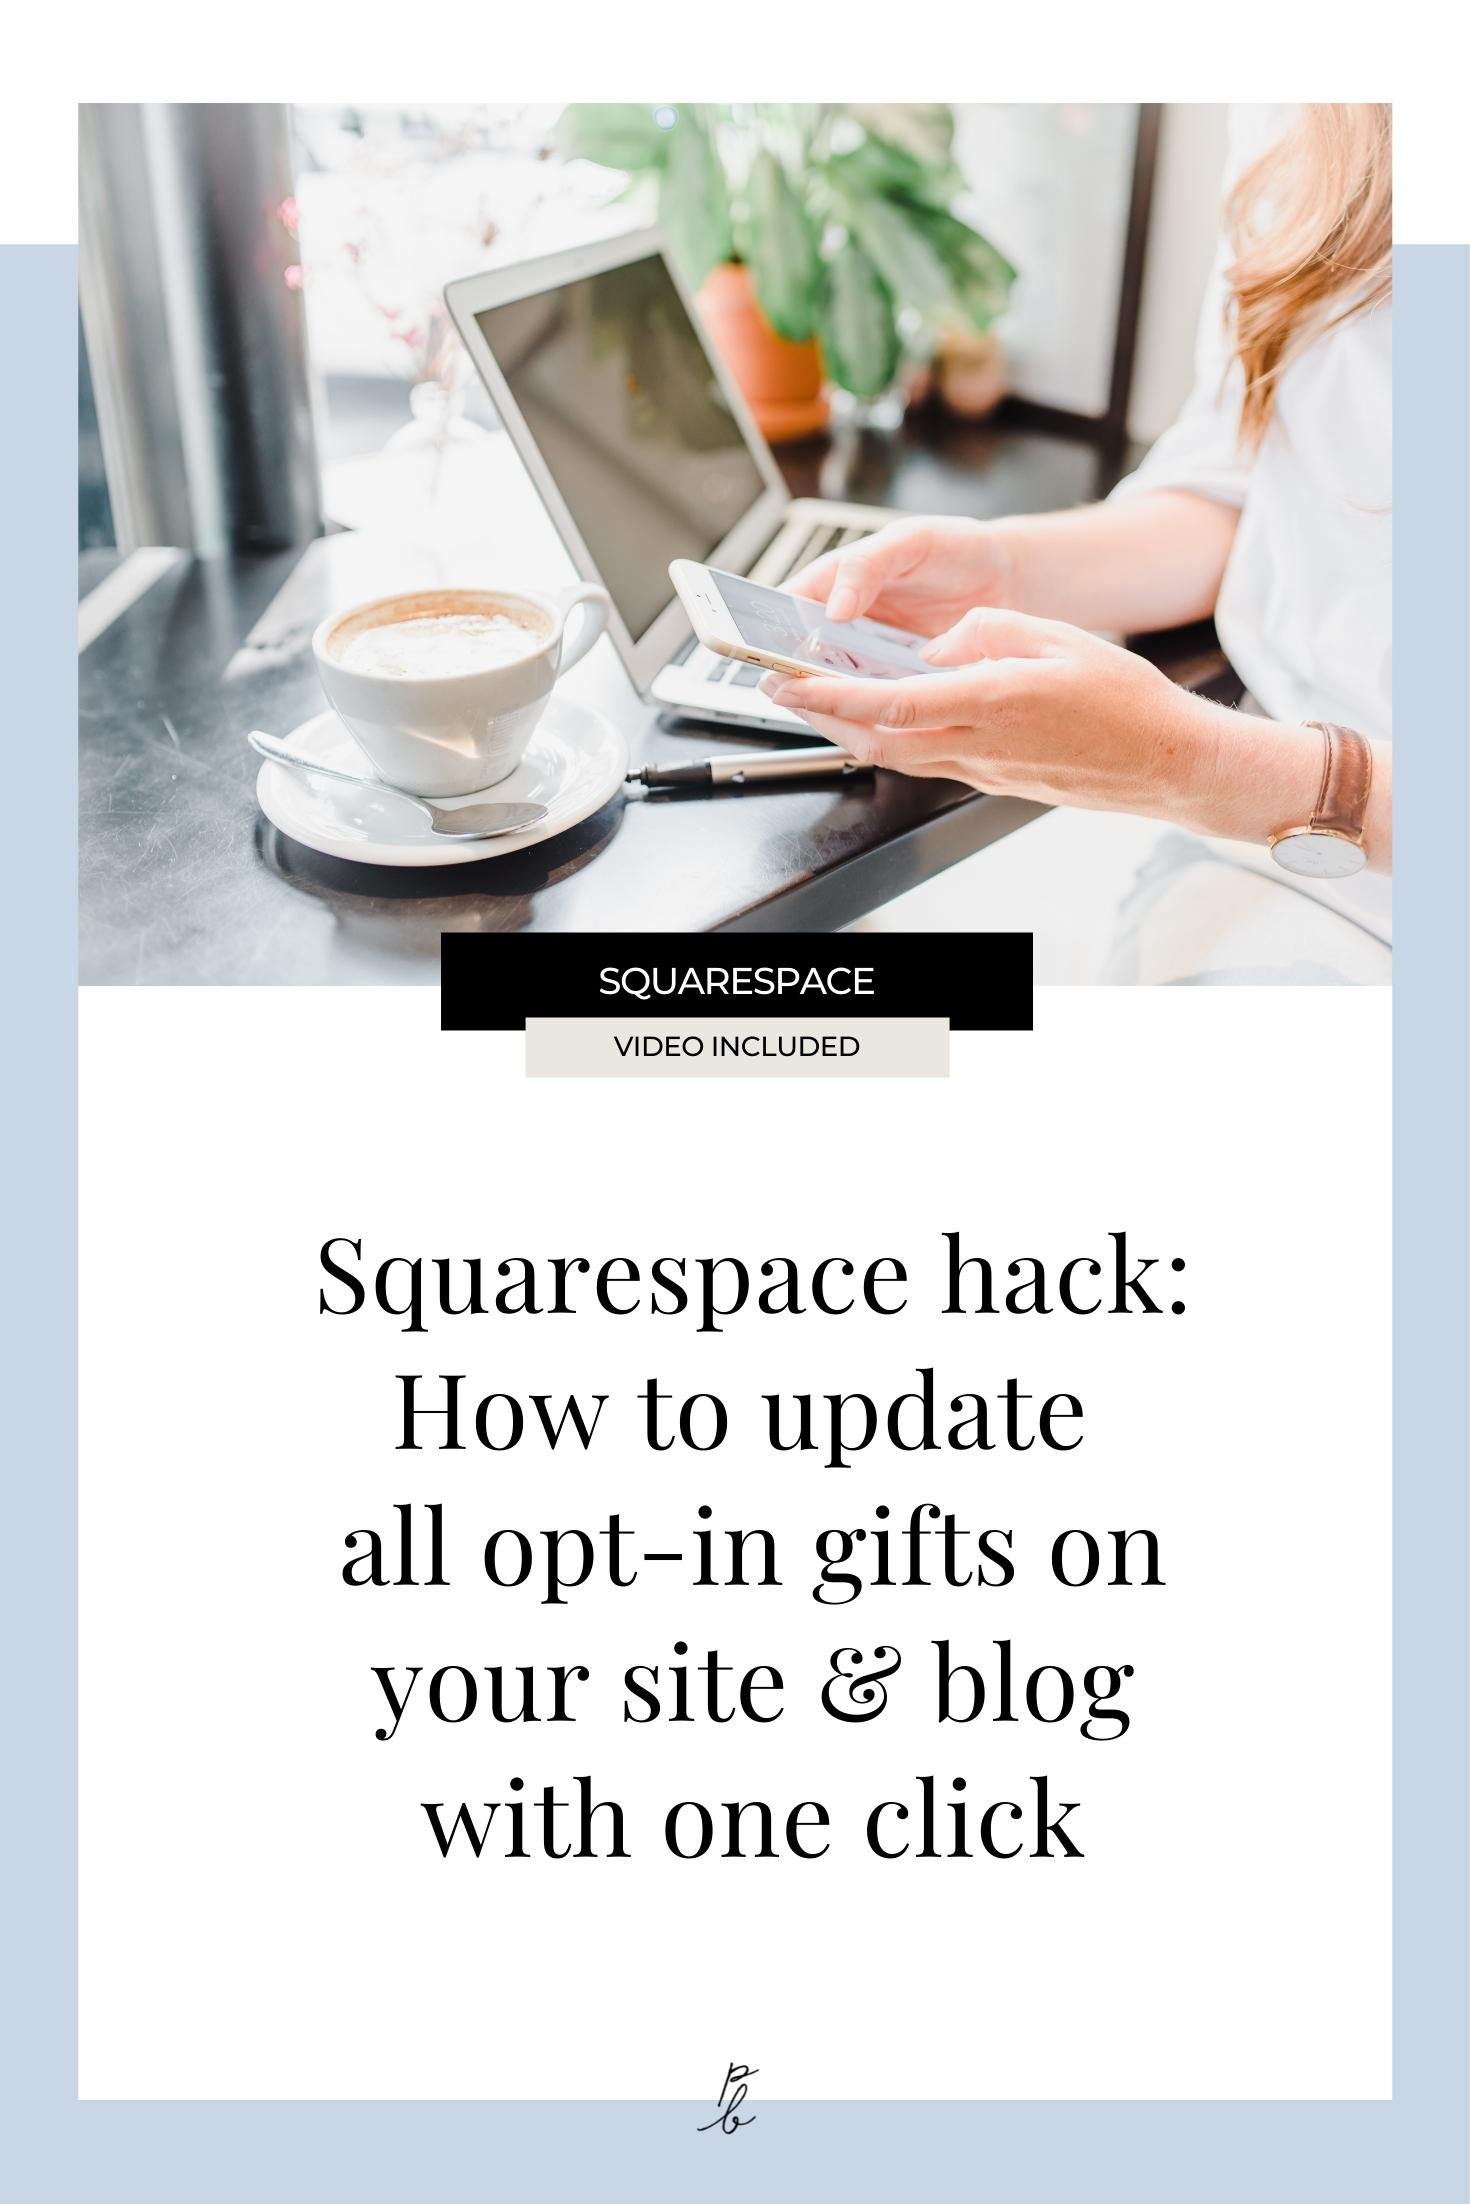
Squarespace hack: How to update opt-in gifts on multiple blog posts using summary blocks
Prefer to watch?
Here’s tHAT VIDEO FOR YA!
MENTioned in the video:
Rather read all about it?
Here’s what we chatted about in the video...
If you’ve been following along with me for a while, you’ll know that one of the top blogging best practices I preach is to include a strong CTA (or ‘Call-To-Action’) in every single post. 🙌
Whether that’s shouting out about your new free training, asking them to subscribe to your email list via some sort of freebie opt-in gift, or plugging a new service you plan to offer.
So, let’s say, starting today, you decide to take my advice and get busy adding your CTA’s e-v-e-r-y-w-h-e-r-e.
What happens when down the road you decide to change things up?
Depending on how long you’ve been blogging you now have anywhere from 5–500 past posts in which your opt-in or CTA graphic will need manually updating!
Not a super thrilling task, or a valuable use of your time, right?
In today’s video, I’ll be sharing how you can easily set up your blog in Squarespace so that all your CTA sections can be instantly updated in the future with just the click of a button!

SQUARESPACE SUMMARY BLOCK HACK:
How to update your opt-in gift section on multiple pages or posts with one click
Step 1:
Create a secret blog to store your opt-in gift graphics or thumbnails
Ok, so today’s hack relies on us using a Squarespace summary block to display our freebie opt-in gift, or whatever call-to-action you want to include in your post.
But before we go adding our summary block, we first need to create something for it to display.
This is where step 1 comes in which is to create a secret fake blog in the backend of your site where all your CTA content will be stored.
Head under pages click the plus sign to add a new page in our unlinked section, and select blog.
Don’t worry.
Nobody will ever know this fake blog exists. It won’t appear anywhere in your site navigation, and it won’t contain any written content or keywords, so there’s pretty much zero chance of anyone ever stumbling upon it in a Google search.
So it doesn’t matter which blog layout you choose. Just pick the first one and get started.
Name your new blog something you’ll remember like “CTA graphics for summary blocks” and then to open up your new blog panel on the left.
Step 2:
Create a new blog post for each type of opt-in or CTA
In order for you to have control over which graphic appears in your summary block, each CTA will need to live in a separate blog post.
So delete out the demo content that comes with your new blog by clicking the three dots beside each post and selecting delete.
Click the plus sign to add in a new post, then click edit to open the post and name it after your CTA. So in my example, I’ll name it “Content Creation Outlines.”
Then remember to hit save.
Adding your CTA content to your faux blog
Next, you’ll need to upload your content to be displayed. So here I have this graphic I’ve created to shout out about my freebie.👇
(Btw, if you want a copy, help yourself by clicking below!)

I’ll need to upload my CTA graphic to the blog post’s thumbnail preview area. I’ll do that by clicking the three dots beside my post, clicking settings, then uploading my graphic where it says featured image.
Creating a new summary block filter tag for your CTA
When you go to set up your summary block, you’ll need to be able to tell it which post from your faux blog you want to display.
This is done through the use of Squarespace tags.
So while still in your post settings, you’re going to head under the options tab and add a new tag.
Name your tag something general like ‘Freebie #1.’
For now this tag will be applied to this freebie. But down the road you may wish to feature a different one, in which case you’d have to delete this tag from this fake post, and add it to your new one instead.

Pssst! Wanna Pin this for later?
Step 4:
Editing the blog post URL source to lead to landing page when clicked
This is a really important step because it’s what makes it so that when someone clicks your CTA graphic, they are redirected to your preferred landing page instead of some random empty blog post.
So to change the link the blog post preview graphic will lead to when clicked, head back under the content tab inside your post settings and toggle on the ‘Link Post Title to Source URL’ button.
Next, add your CTA destination or landing page link to the ‘Source URL’ field.
Heads up! Your faux blog post must be already published in order for it to display in your summary block.
So hit publish. Then close and save.
Step 5:
Create blog post template with new opt-in gift Summary Block
Okay, so now that our CTA content has been created inside of our faux blog, we can now display it on any post or page on our site using a summary block.
But rather than manually adding summary blocks to each new blog post you create, save yourself a bunch of extra unnecessary steps by building yourself a sort of blog post template!
Once it’s built, you can then duplicate it each time you sit down to write a new post.
So open up your actual blog (not the faux one) and add a new post.
Add whatever you’d like to your template. Basically anything that would make it easier on you to create a new post in the future like image blocks, text blocks, and even some gibberish to use as place holders for your content with correct heading formats already assigned so you aren’t starting from scratch with each post.
Then wherever in that post you want your CTA to appear, add in a summary block.
Click the pencil icon to open up your summary block settings and change the following settings:
Select a page: this will be your faux blog
Date posted: you’ll select ‘none’
Secondary data: also ‘none’
Filter: this is where you will apply whichever tag you want this summary block to display. So if I make my filter “freebie #1” then any CTA I’ve added that tag to will appear.
Then, head under the design tab and change the following settings:
Layout: You can leave it set as ‘wall’, unless you’d like your summary block to feature more than type of CTA or thumbnail graphic.
Number of items: Again just select 1 unless you plan to show off multiple at the same time.
Elements: the only thing you want displaying is the featured image so toggle the rest off
Size and spacing: if you want the CTA graphic to take up the whole width of your blog, then use the slider to increase the column width. Gutter width is just how far apart each graphic is if you plan to show more than one, so use that slider until you’re happy with how it looks.
There! Now your summary block should be proudly displaying your CTA!
Step 1-5 may have felt like a lot, just to get a simple image to display on your post, but I promise it will save you so much time in the future if you can start doing this today!
The great news is you only have to go through these steps once! Then you can duplicate this blog post template you created for use with infinity posts in the future, and the only setting you’ll need to worry about when you go to publish a new blog post is tweaking which filter you’ve applied to your summary blog.
You might set up half your blog posts promoting freebie #1 and the other half promoting freebie #2 if it’s more relevant to the topic of your content.
Step 6:
Update your opt-in gifts in the future with one click
Ok, so now that you know how to set this all up, how do you actually go about swapping out the content in the future?
Say half of my past blog posts are currently displaying my Content Creation Outlines Freebie, but I decide to swap them out to promote my free training on Finding Clients As a New Squarespace Designer instead…
I don’t even have to touch my past blog posts, or spend time fiddling with the settings of my summary blocks.
I just open up my fake secret blog, and apply my freebie #1 tag to a different CTA, removing it from the old CTA.
If the thing you are promoting is staying the same but you just want to update the graphic or link, then all you have to do is open the settings of that same CTA and swap out the featured image and source URL for with your updated ones.
Any summary blocks on your site or blog that was originally set up using the freebie #1 filter will now instantly update to your new content.
Do this now, and swapping out your CTA in the future will take mere minutes, instead of literal days spent dragging and dropping to update all those past posts!
Happy blogging!