How to update your Squarespace website while keeping your current site live
Prefer to watch?
HERE’S THAT VIDEO FOR YA!
Feeling like your site could use a little sprucing up? Or maybe a complete redesign is in order…
(Extreme makeover: website edition, anyone??)
Whatever reason you’re here, just know that when it comes to updating your site, you’ve got options.
Four, to be exact.
But before we get started - here’s something you’re not going to want to miss…

Ok back to it…
Since this is a bit of a monster blog post, let me give you a quick run-down of who each method is for, so you know where in this post to start reading.
4 ways to make changes to your Squarespace website
(without visitors seeing until you’re ready)
MeTHOD #1
Duplicating pages on your Squarespace site
This method is for users of both Squarespace 7.0 & 7.1!
It’s perfect for those looking to refresh certain pages or content without disturbing their current live site, but are not necessarily looking to start over with a complete redesign.
MeTHOD #2 - new bonus method!
FAVORITING SECTIONS on your Squarespace site
This method is for users of 7.1!
It’s perfect for those looking to refresh certain pages or content without disturbing their current live site, but are not necessarily looking to start over with a complete redesign.
METHOD #3:
Switching Squarespace templates
This method is currently only available to users of Squarespace version 7.0. It’s perfect for the person who wants to do a complete redesign of their site, rather than just sprucing up a few pages here and there. (More on why this is only available in 7.0 later in this post!)
Method #4:
Duplicating your entire Squarespace site
While this way is definitely the easiest, unfortunately site duplication is a feature currently only available to Squarespace Circle Members. Womp womp:(
But not to worry! Becoming a member is really rather easy.
All that’s really required to become a Circle Member is:
You have built at least 3 sites on Squarespace
You are still a contributor or owner on those 3 sites
The 3 sites are currently active with a paid subscription
You can check out Squarespace’s complete guide to getting started as a Circle Member here (plus some pretty neat additional perks for being part of the gang!)
UPDATE: Site duplication is now available to all Squarespace customers, not just Circle members! 🎉
Ready to get editing your site?
Click on any of the buttons below to take you straight to the tutorial for that method!
MeTHOD #1:
Duplicating pages on your Squarespace site
Step 1:
Duplicate the individual page you want to update
To duplicate a single page in either version of Squarespace, head to pages and then click on the gear or settings icon next to the page you want to duplicate.
Under the general tab, scroll down and click duplicate page

Step 2:
Make updates to new duplicated page
Next up, make your tweaks to that duplicated page. Oh and to ensure no one sees what you’re working on behind the sceneges, be sure to drag it down to the unlinked section until you’re 100% happy with how it’s looking.
If it’s in the unlinked section, it won’t appear in your navigation and therefore no one on your site will see it while you’re working on sprucing it up.
Step 3:
Prepare your new version of the page to go live
Head into the settings of your new page and update the page title & navigation (see pic for what goes where!)
If it’s not already, toggle on your enable page button to make the new version of the page discoverable
Update the URL slug so that it exactly matches the old version of the page to ensure all past links to that page currently floating around on the internet still work

Pro-tip: Squarespace won't let you use the same URL twice, so be sure to copy and paste the original URL slug somewhere so you have it, then create some nonsense URL to change the old page to so that the original URL is available for use on the new page!
Step 4:
Replace the old version of the page with the new version
Congrats! Your new design is ready to make it’s debut! It’s time to drag that bad boy into your main navigation (or wherever on your site it is meant to live), and disable that old page and hide it away for safe keeping in your unlinked section!
P.S. Once you are sure that your new design is working and there is no looking back, you can go ahead and delete that old version. If you’re duplicating and updating a LOT of pages on your site, eventually all those unused pages are unnecessary clutter that will slow down your site!
Page types that cannot be duplicated in Squarespace 7.0 & 7.1
There’s one teensy downfall to this method, and that is that there is no way to duplicate collection pages, (ie. your blog, event, portfolio, album, shop, gallery, or index pages, and folders)
But it is possible to duplicate individual items or pages within any of those collections, and most of them can be easily moved between collections or dragged and dropped under a new folder or index page!
To move duplicated collection items to a new collection:
Head into the collection page where the duplicate version currently lives
Press and hold shift and select which collection items you want to move
Click move and tell Squarespace which collection to send it to


METHOD #2:
Creating a new favorite section & copying it onto another page
Why use section Favorites?
Quick backstory: Squarespace released the section favorites function in 2022 and it’s taken the community by storm! There are so many awesome ways to use this function & updating your website without needing to unpublish it, or even mess with the design on a page is one of ‘em!
When to use section favorites as a method to update your website
This method is perfect when you’ve got a whole section to redesign or update, and it might take you a bit of time, including a few bathroom/ coffee/ cupcake breaks, so you don’t want to take the risk of not hitting save whilst you step away from your laptop!
HOW to use section favorites as a method to update your website
Create a new unlinked page on your website
Build out your new section, or sections on this page
When they’re ready, hover over the top right-hand corner of the section and hit the heart button!
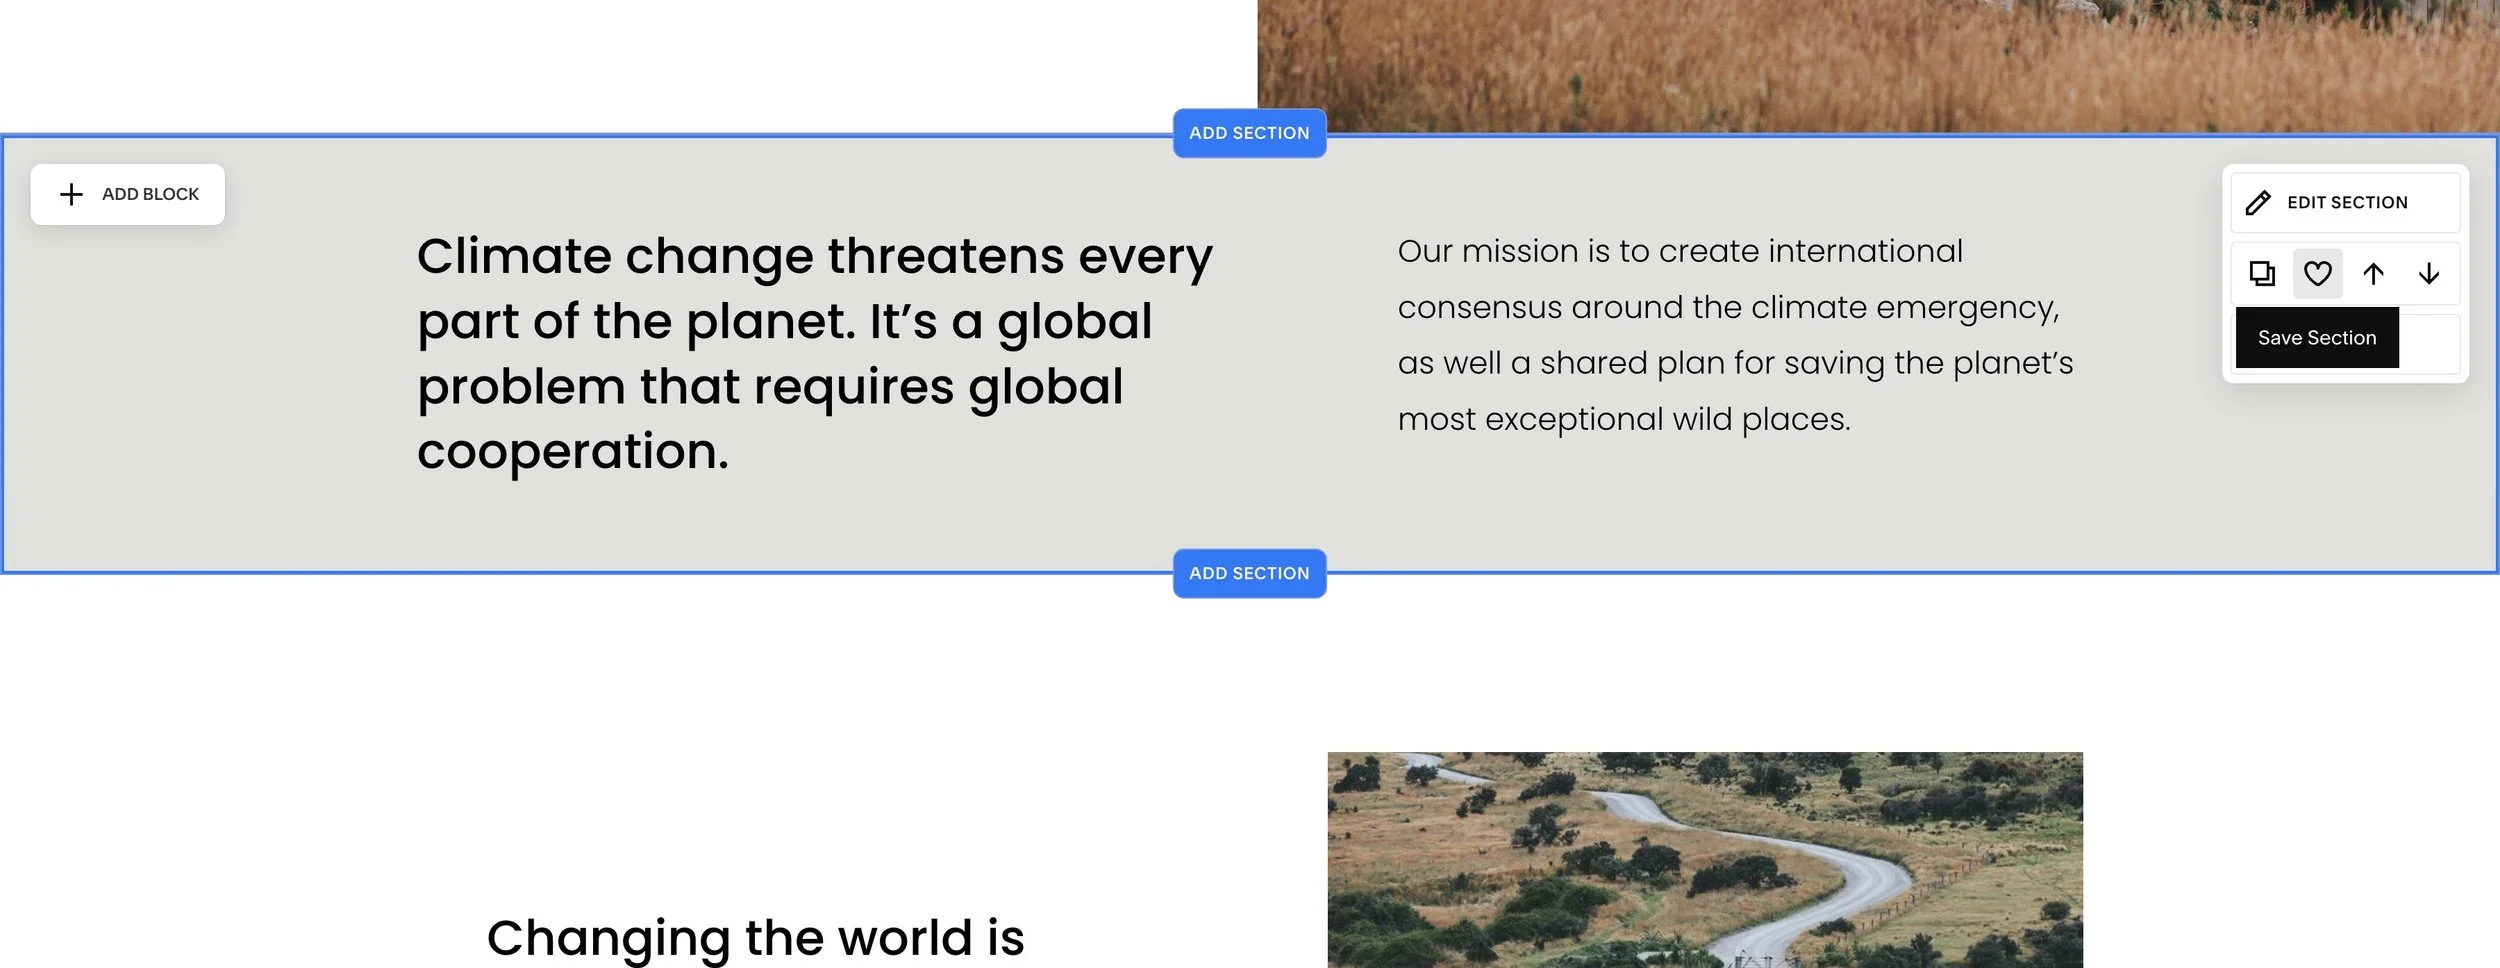
Now go over to the page you’d like to update. Find where you’d like to add the section, click add section > saved sections and choose the section you’d like to use
If you also have a section you want to delete (if this section was replacing one from before) go ahead & delete it and then hit save on your page - voila!!

Whilst you’re making updates to your site - why to see if you can make a few simple tweaks to help your sales (or inquiries) surge?
Oh & if you haven’t already… make sure to get your seat!
METHOD #3:
Switching Squarespace templates
Why switch Squarespace templates?
Quick backstory: Squarespace version 7.0 templates have different features and functionality based on which “template family” they belong to.
So a website designed on a template belonging to the Bedford family won’t necessarily be able to achieve the same results as a website design designed on a template belonging to the Brine family (ie. one may allow you to have a sidebar or double footer on your site, while the other does not.)
In 7.0, if you want to update your site, but the feature you want is not supported by your template, you have to switch templates. The problem with switching templates is that you are having to recreate your website from scratch on the new template.
The upside to switching templates is that you can do so while keeping your current site live, meaning that your visitors will be none the wiser that the backend of your site is basically a construction zone. (More on how to do that in just a sec!)
Why isn’t template switching available in Squarespace 7.1?
Thankfully, when Squarespace came out with the newest version of their platform, version 7.1, they did away with all the confusion and many sleepless nights spent picking the right template.
Every single template in Squarespace version 7.1 has the same features and functions available and you can achieve the same thing no matter which you pick. Really the only reason to pick one over the other would be to save yourself a little time because one seems like a better starting point for where you see your design headed.
There’s no need to switch templates in order to get access to a new feature, and if you want your site to look exactly like one of the templates you love from the new Squarespace 7.1 template shop, you can achieve that design by dragging, dropping, and rearranging your current content (but remember, if you don’t want visitors to catch you in the middle of making changes to your current live site, be sure to follow the steps in method #1 above!)
More on choosing a template in either version in Squarespace template comparison chart for 7.0 and 7.1 (updated!)
How to switch templates in Squarespace 7.0
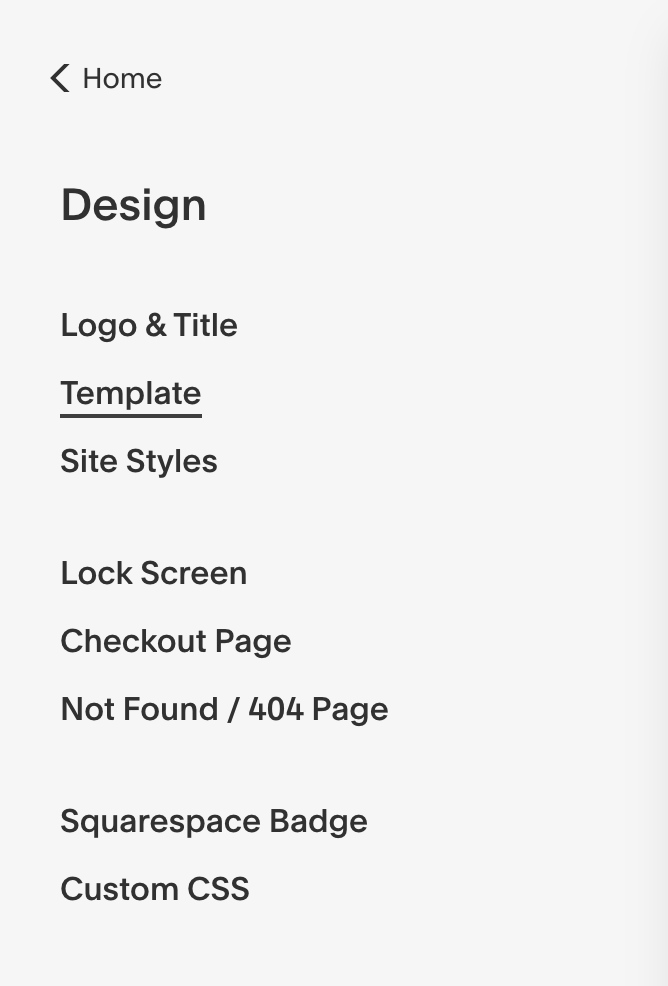
To install a new template on your site, head to design > templates > install new template, and choose your new template from the template shop.


This will essentially create a whole new phantom website for you to preview and build on behind the scenes. You can install and preview as many templates as you like, and most of your current content (ie. images, text) will load with the newly installed template.
To start building on the new template, simply hit preview and get to work designing as you normally would!
Site visitors will be totally unaware that you’re back there cooking up new ideas, and your current site will remain live and *for the most part* untouched!
I say for the most part, because it’s not 100% foolproof – you do have to pay special attention when making tweaks to certain things…
Here’s what won’t be affected on your live site when you make changes to preview templates:
Site styles (ie. fonts and colors)
Custom CSS
Site navigation (ie. where your pages live in your main navigation or unlinked section)
Homepage settings (ie. which page you currently have set to homepage)
Sidebar & footer content
Page headers & footers
Background images
Basically, anything that is specific to that template will not mess with those settings or layout in any other templates you have installed.
Here’s what will be affected on your live site when you make changes to preview templates:
Changes to actual content and not just the layout or design (ie. swapping out photos or text & deleting blocks, pages or collection items.)
Changes to page settings (ie. thumbnail images and URLs)
Logo or site title
Page and SEO titles and descriptions
Any code you’ve injected (different from custom CSS, which is added under the design panel. Code is injected under the settings panel).
If it’s a bit of content that you’ve added, and not just a design setting or template specific feature, it will affect your templates account wide, meaning all templates – live or preview – will reflect those changes!
How to make my new template live once it’s ready
If you head back into that template panel, you’ll see that your current site says “live.”
When you are ready to launch your newly designed site to the world, just select preview on the template you’ve designed it on and use that big blue button at the bottom to make it official!

P.S. Not quiteee ready? Just hit cancel preview. Any changes you made while you were in there will save, but this template will continue to hide out in the backend of your site for now.
Method #4:
Duplicating your entire Squarespace site
Creating your duplicate site
Ok, so this one is prettyyyy straightforward…
Just head into your account dashboard (here’s mine showing both my websites 👇)

Now, say I wanted to duplicate my Square Secrets online course website. I’d just click those three dots, scroll on down to the bottom, and select duplicate site!
You are now the proud owner of two identical websites!
So go ahead and make tweaks, change layouts, and swap out your content with abandon, because ain’t nobody gunna see those changes until you launch that new site to the world!
How to make your new duplicate Squarespace site live (and connect your domain)
When you go to make your new site live, you will have to start a new paid Squarespace subscription, since it’s not possible to move subscriptions between sites.
Don’t worry, I snagged a sweet little discount for you! Use the code PAIGE10 to get 10% off your first year!
But since you don’t want to be bankrolling two paid plans, make sure to go in and cancel your other subscription on your old site (but only once the new one is officially live!)
If your old site was on a monthly subscription, you won’t be charged the following billing cycle once cancelled.
If your old site is on an annual subscription, you will receive a prorated refund for the time remaining on your plan, but heads up! This refund won’t be automatic, so you have to contact Squarespace support when canceling your old site!
Need help connecting your old domain to your fabulous new site? I share everything you need to know in my post: Squarespace basics: connecting a domain & launching site.